How to Disassemble an Elliptical Machine
Your elliptical machine has served you well. Now that you’re moving to another home, you’ll have to do some work to get that elliptical out of your old place, onto the moving van, and into your new location.
Or perhaps you’re looking for the best cross trainers and want to know how to disassemble it once purchased.
All three of those things will be orders of magnitude easier if you take the elliptical apart first. Once you’ve broken it down into manageable, movable pieces, you’ll be able to make your way just fine. But getting there may be an issue, especially if you don’t identify as a mechanically inclined person.
You spent a lot of money on this thing, so it needs to last for years. That means taking care while taking it apart and moving it to, say, another state. Let’s look at how to disassemble an elliptical machine. In just a couple of hours, you can finish the project.

How to Take Apart an Elliptical Machine To Move
When it comes to disassembling an elliptical to move, we’re not just going to start unscrewing stuff. Doing that risks putting your machine back together only to find that it doesn’t work anymore.
This can be considered one of the disadvantages of the elliptical because it’s quite a sophisticated machine. We need to take specific steps to prepare for the disassembly, do the work in a logical order, and pack things away so that they’re safe, secure, and all in one spot, which will make reassembly easier.
The Right Tools for the Job
One of the last things you’ll want to do is stop in the middle of your disassembly to find another tool you need. So gather them all before you start. You’ll need to examine your machine to know exactly what tools you need, but in general, an excellent list to begin with includes:
- A screwdriver (most likely a Philips-head, but you may find flathead screws on your examination)
- A set of Allen wrenches (like the Phillips-head, your examination may reveal you don’t need these, but better to have them and not need them)
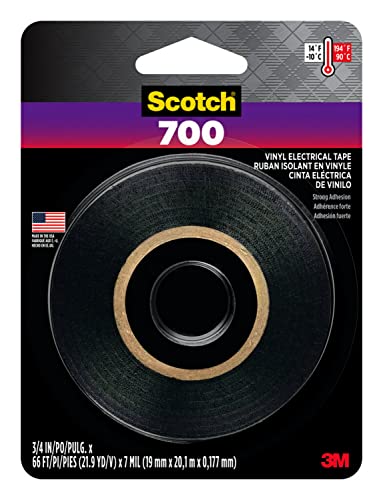
- Electrical tape (the black, rubbery kind, not duct tape). See below for the recommended product:
- Pliers (channel locks or locking pliers will be fine)
- Storage for screws and parts (I prefer plastic bins, like the Rubbermaid Food Storage Containers because I have lots of those lying around; plastic baggies will suffice)
Now that you’ve pulled those together, let’s get started.

Disassembling Elliptical For Moving
We’ll go step-by-step with a general overview of disassembly. If you want to leave how to move an elliptical check out our other article. Remember that your elliptical may have some idiosyncrasies we can’t anticipate, but this guide, along with your common sense and general brilliance, will lead you through the project.
Remember that you should only unscrew bolts that need to come out. If you’re not sure, leave it alone. Most of the bolts and screws on your elliptical will be evident in their function.
When you’ve unscrewed, say, a pivot arm, and it doesn’t come apart from the unit, check around for a screw you’ve missed. Don’t just keep tugging away at it.
You’ll find screws you didn’t need to touch when you’ve broken the unit down, which is good. If you leave the screws alone that don’t hold the thing together, reassembly will be much easier.

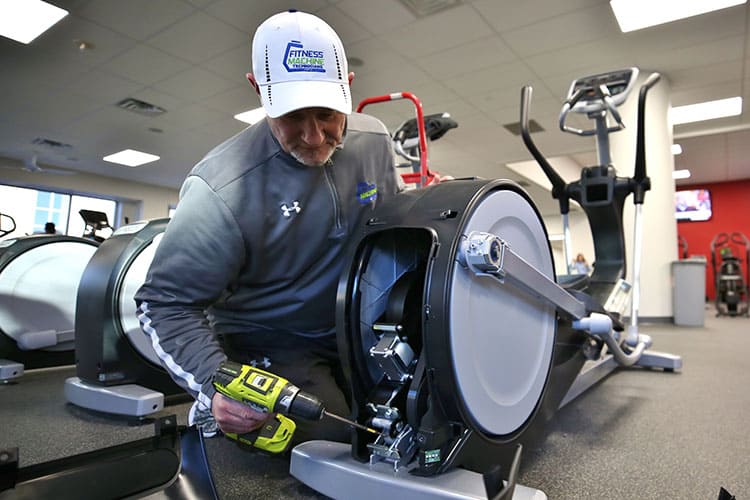
Here is a step by step on disassembling an elliptical machine:
1. Unplug the unit from the wall.
This is basic safety stuff. Remember that you’re going to be dealing with wires, which means electricity. Unplug the elliptical first.
2. Unscrew the unit’s head, or “brain.”
You’ll most likely find the brain held on by four Phillips-head screws underneath. When the head comes off, be careful not to rip the wires out. Store and label the screws.
3. Carefully disconnect the wires to the head.
Here’s where the tape comes in handy. Tape the wires down to the body of the elliptical so they don’t fall inside the unit. This will also protect them during the move. Some wires will need a screwdriver to disconnect them. This goes for the whole unit, as you may find some wires bolted in place, while wire nuts or a similar assembly may hold others in place. Pay attention to the wires at all times. Stripping them or yanking them from the unit may irreparably damage it.
4. Remove the handlebars next to the units head.
These should come off simply with a Phillips-head screwdriver, and you shouldn’t have to deal with any wires here. Rather than storing and labeling these screws, you can screw them back into place without the handlebars. This will keep them from getting lost, and there will be no question as to which screws are for the handlebars.
5. Unhook the resistance assembly from the frame.
You should find three bolts on each pivot arm. These may require an Allen wrench. Remove all six, then put them in a container and label it.
6. Take off the stride arms.
Most likely, Phillips-head screws hold these in place. Where they connect to the bottom of the unit, you may find them secured with Allen screws.
7. Remove the pedals.
Find the mounting bolts that hold them to the base of the unit and unscrew them. Be aware that some units will have some wire present here, too. Be careful pulling the pedals from the body, and tape down any wires you encounter and need to disconnect.
8. Take the frame apart.
At this point, you may feel like you’ve done a bunch of work, but the elliptical still looks like a bulky thing you don’t want to deal with loading onto a moving truck. Disassembling the frame will change that. You should find at least two screws on each side of the base of the unit. Most likely, these will require an Allen wrench.
9. Get a high-five from your moving partner (optional)
You labeled all the parts and bags of screws, so when it’s time to put your elliptical back together, you’ll simply reverse what you did and have no troubles because you were careful, methodical, and organized.
NordicTrack Elliptical Disassembly
To take apart the NordicTrack elliptical you follow the exact same steps as above. This may differ slightly between models but the bulk of the disassembly will follow the same process.
Here is a great instruction video on how to disassemble a NordicTrack elliptical:
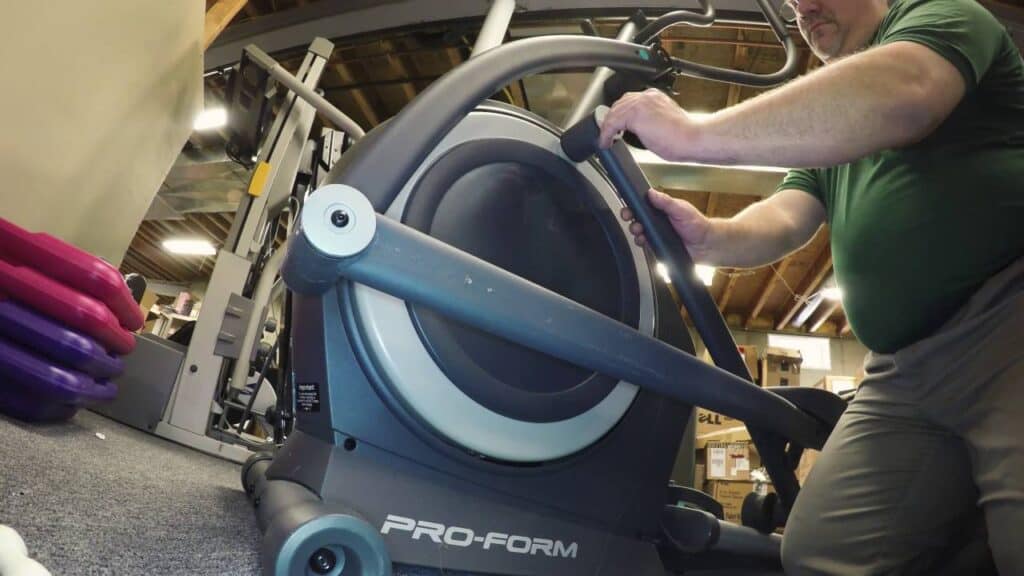
How to Disassemble a ProForm Elliptical
To disassemble a ProForm elliptical, again follow the steps provided above. The frame and arms of the machine may differ slightly but in terms of the order you disassemble should follow the same steps.
Here’s another handy video on disassembling a ProForm elliptical
Conclusion
Your elliptical is now in four main pieces which is the best way to move a heavy elliptical machine. You may want to wrap the large pieces in moving blankets or bubble wrap before loading them into the moving truck. However, if you’re moving across town, they probably won’t get scratched or dinged up in your car.
To reassemble it, reverse what you did, paying close attention to your labeled parts. Be sure, also, that you reconnect all your wires correctly. Once everything is back together, plug it in, and get back to your exercising.
An ex-triathlete, fitness coach and writer with a Masters in Sports Physiology. Fitness is my passion and I've had my fair share of home fitness equipment tried and tested!


